As the Pico2Maple project (a Dreamcast USB/Bluetooth to controller adapter) reaches a recognizable level of maturity. I started thinking about what else could be done with the same core Maple bus implementation and eventually decided on modifying a standard Dreamcast controller to work over Bluetooth. Using an Xbox controller on the Dreamcast is great, but sometimes you just want to use the real deal.
I use the Pico 2 W to emulate the Dreamcast's Maple bus, pretending to be the console itself, and send Maple packets to the controller. The controller happily reports back its current state when asked, and that can then be sent over Bluetooth. Taking it a step further, the Pico 2 W can also communicate with any peripherals connected to the controller. I use this to send image data to any connected VMU (Visual Memory Unit) that is received on a separate Bluetooth channel.
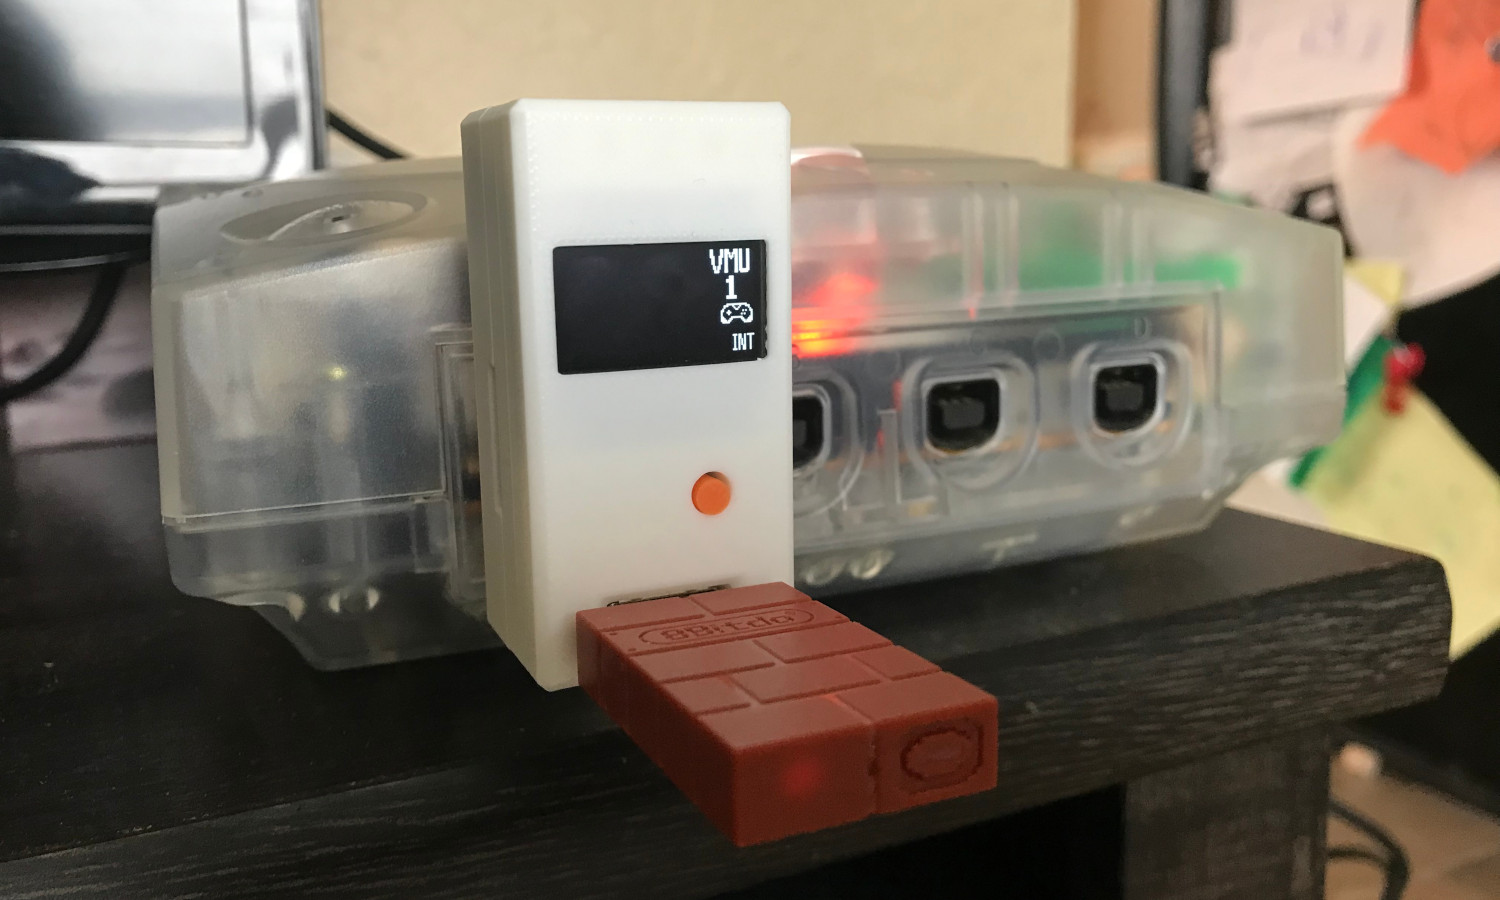
The end result is a wireless Dreamcast controller I can use on both a PC and on the Dreamcast itself (with some additional hardware), and have a working VMU display!
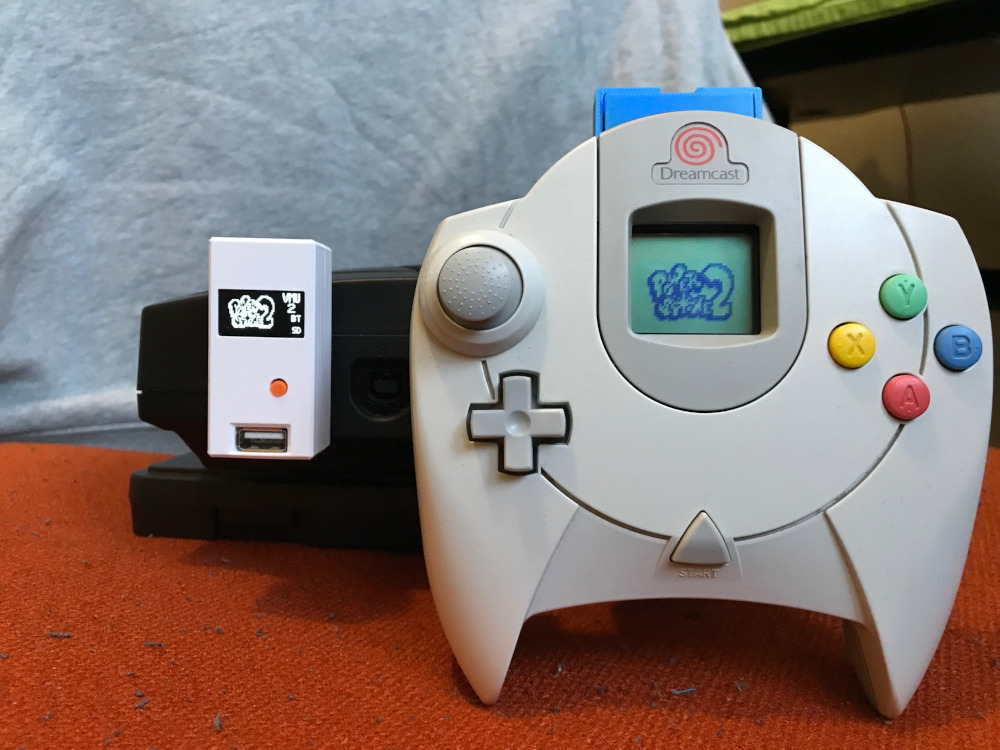
Dreamwave controller and Dreamcast.
Polling the Controller
The Dreamcast's Maple bus is the protocol that the console uses to talk to peripherals through the controller ports. For the most part, the console sends commands to a peripheral and the peripheral then responds appropriately. Request and response commands all have the same core packet structure, just with different data payloads relevant to a given command. And so, while Pico2Maple takes on the role of a peripheral responding to the console, it is not much of a change to turn this around and take on the role of the console requesting data from the controller.
This is exactly what is going on with this project. The Raspberry Pi 2 W sends commands to the controller as if it were a Dreamcast console. The controller then responds as it normally does and all is well.
Only 2 commands are needed to get the controller to start responding: GET_INFORMATION and GET_CONDITION. The GET_INFORMATION command requests some data about the connected peripheral. This includes stuff like its name, available functions, and power usage among other things. Well-behaved peripherals won't respond to any other commands until after responding to this information request, so it is always the first step.
Once the peripheral's information has been requested, we can start sending GET_CONDITION commands to the controller. This requests the current state of the controller, like what buttons are pressed and what the values of the analog axes are. This is recorded and used by the Bluetooth stack to send the controller state over Bluetooth.
Bluetooth
Dreamwave uses BTstack and its HID protocol implementation to send input state over Bluetooth. BTStack has some great examples, so it wasn't too much effort to initially get the device appearing as a Bluetooth controller on my PC.
Getting my desired reconnect and pairing behaviour did take some trial-and-error but I enjoyed learning more about Bluetooth. At power-on, Dreamwave will try to reconnect to it's last known host. This barely takes more than a couple seconds and feels great especially with Pico2Maple.
It will fall back into discoverable/pairing mode if it can't reconnect to the previous host which does take a bit of time, so the pairing experience is not perfect. But it means I didn't have to worry about wiring up another button to enter Bluetooth pairing. Another option would have been a controller button combo to trigger pairing. That might be a future improvement.
I did not write a driver for the controller but the Linux HID generic driver seems to pick everything up just fine. Steam let me remap the buttons to match an Xbox layout and I was playing Sonic Adventure DX in no-time. So, as long as Steam is running, everything just sort of works.
On a Dreamcast Console
I also wanted to use the controller on a real Dreamcast. To do this I added support for Dreamwave to Pico2Maple so it could connect to and treat this setup like any other controller, and that seemed to work great as well.
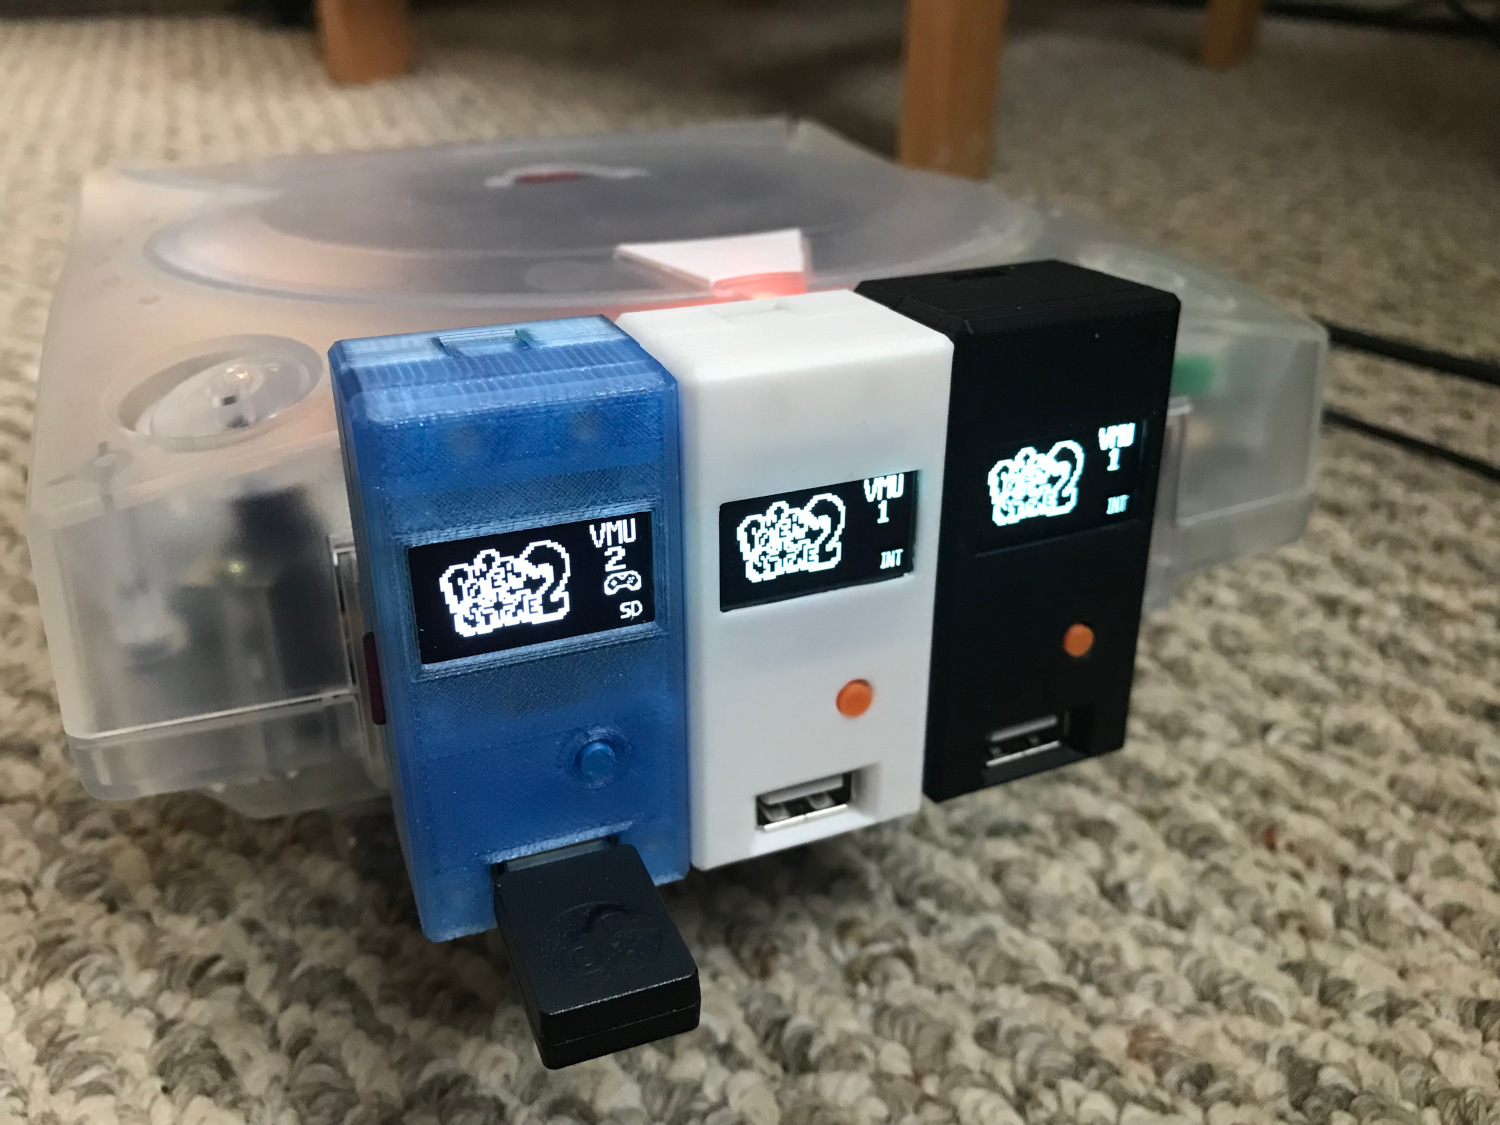
One of the really cool features I added to Dreamwave is the ability for a Bluetooth host to open up a second channel, separate from the HID stream, to exchange data back and forth. Currently, this is being used for sending VMU LCD display data from Pico2Maple to Dreamwave. This means that I still get to enjoy the experience of having a VMU in my controller and wireless input.
Only the VMU screen data is shared between Dreamwave and Pico2Maple, game saves and whatnot still happen on the console side of things. I would like to eventually share save data from a VMU plugged into the controller. I think that'd be pretty cool.
Hardware
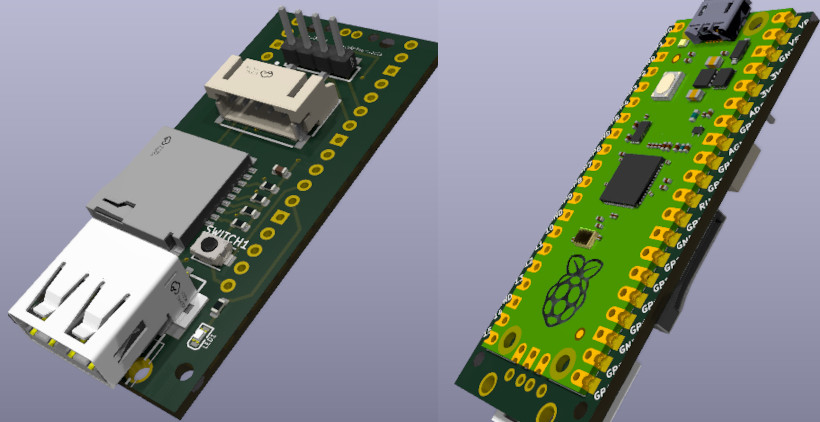
Hardware-wise there isn't much to what I was able to put together. The brains behind everything is, of course, a Pico 2 W. That combined with a rechargeable battery and a bit of extra power circuitry is all there really is to it.
For the battery charging and discharging circuitry, the Pimoroni LiPo shim was a pretty convenient solution for this project. It takes care of charging the battery and has a built-in power button which saved me the effort of including one.
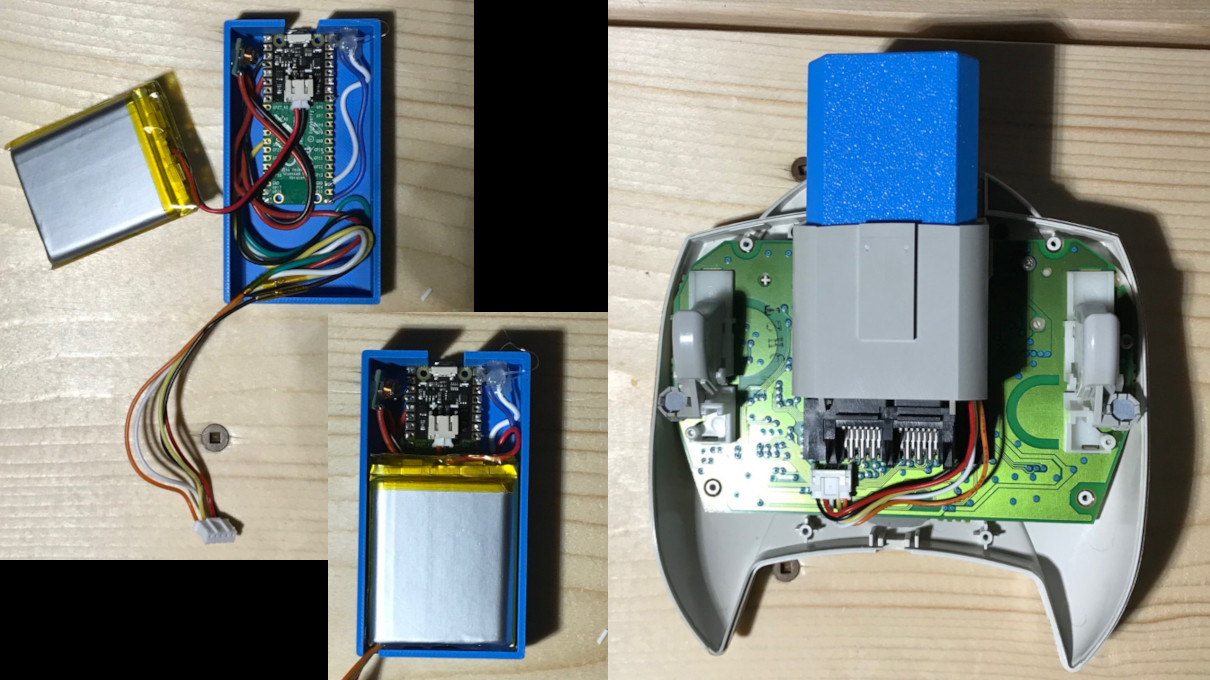
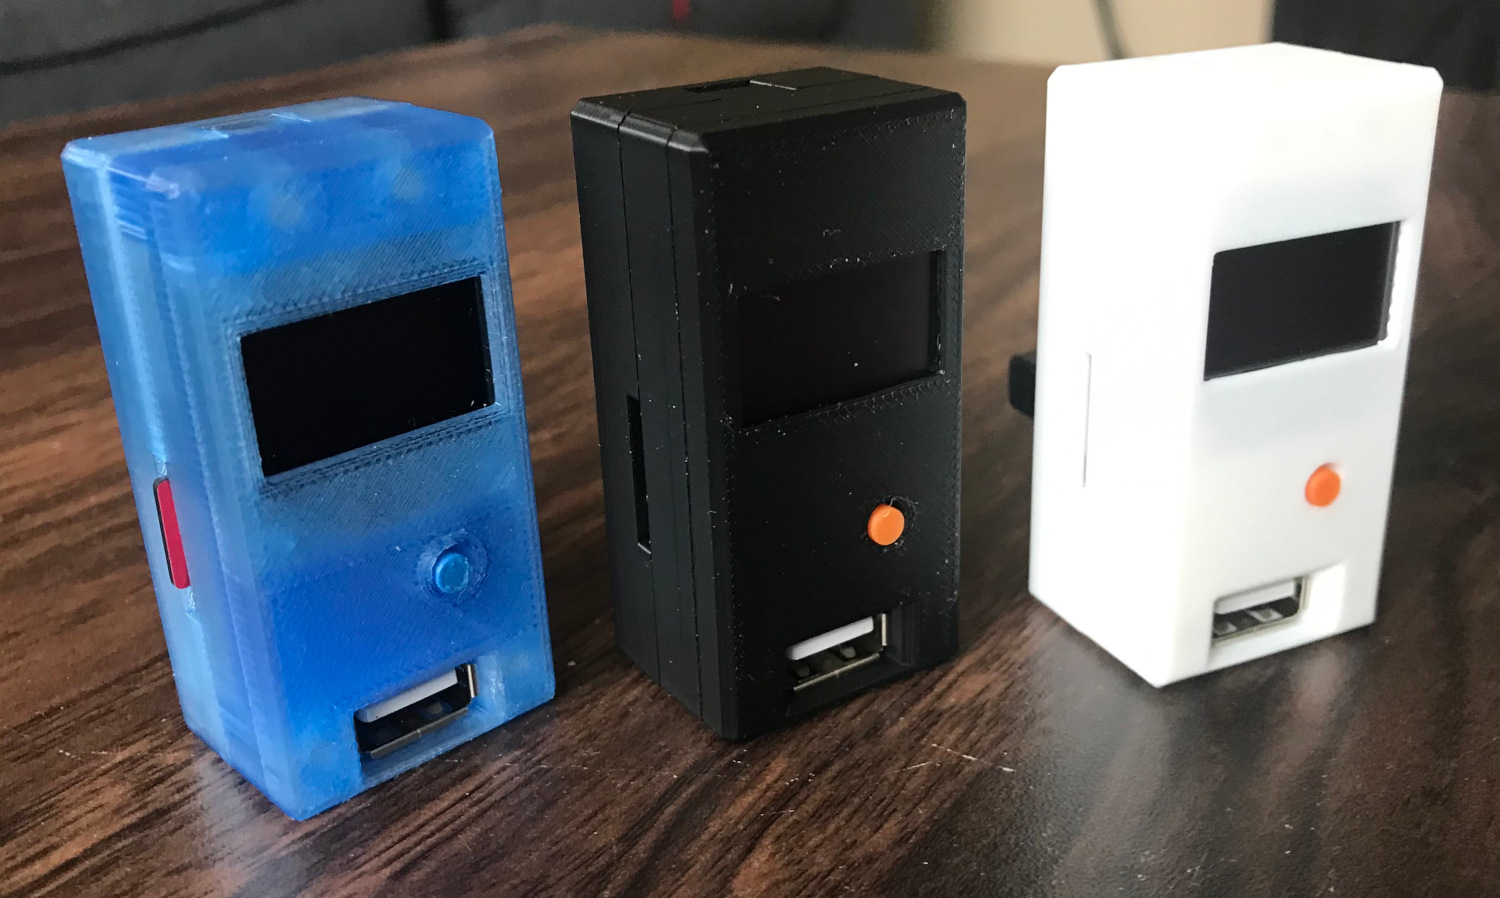
Raspberry Pi Pico 2 W and battery in a VMU-sized box.
I really didn't want to modify the controller at all for this project. These things are 25 years old by now and it feels wrong to chop them up. To minimize needing to make modifications to the controller itself, I built everything into a memory-card-shaped box that fits into the second expansion slot of the controller. I did cut away a small piece of the controller to make sure the wires could get where they needed to, but this was ultimately unnecessary and I do regret doing that.
Overall, the final product doesn't look too bad. With a smaller battery, or a bit better Tetris-ing of components, it could definitely be shrunk down a bit. But I'm pretty happy with how it turned out. I've been using it for a couple weeks now with my VMUPro and it's easily my favourite Dreamcast controller now.
I've uploaded the source code for the firmware to my GitHub if anybody wants to take a look or try their hand at building one themselves. The repository also contains the same Maple bus implementation used in Pico2Maple so could serve as a nice starting point for anybody wanting to try interfacing with the Dreamcast and it's peripherals.